Calendar
QuicksearchArchivesCategoriesBlog AdministrationPowered byLizenz/LicenseDer Inhalt dieses Blogs ist © Copyright 2009 Ralf Ertzinger. Jegliche Reproduktion und Wiederverwertung nur mit schriftlicher Genehmigung des Autors. The content of this blog is © Copyright 2009 Ralf Ertzinger. |
Sunday, February 8. 2009Building an OpenSolaris storage - Hardware, Part 2Earlier this week the last of the hardware I ordered arrived, so I could finally assemble the whole system. Contrary to my expectations the CPU did not come with a fan (which was just as well, as I already had two), but with a lot of packaging instead. Someone at Intel should think about cutting down on all that plastic just to ship a tiny piece of silicon.Speaking of silicon, contrary to almost all other current x86 CPUs the Core2Duo Mobile processors do not have a metal cap to protect the die, but the die instead sits rather unprotected on top (similar to the Athlon XP and Pentium 3 processors). This makes attaching a fan an interesting experience, because it is quite easy to damage the die while doing this. Coolermaster is obviously aware of this, the contact side of the fan contains a foam spacer which surrounds the die when the cooler is placed on the CPU and which is supposed to prevent tilting. The cooler is then fastened to a mounting plate sitting on the bottom of the board using some spring screws. This works insofar as I was able to mount this without damaging the die.Getting all this into the case is a bit tricky but manageable, as the mainboad tray can be pulled out from the case. The case has qute an assortment of LEDs and switches, unfortunately not all of these have corresponding connectors on the board (the two LAN-LEDs, the ERROR LED, the Mute switch and the intrusion detection switch). The SATA cables are numbered which makes it easy to plug them into the right connector, so the mainboards view of drive numbering lines up with the numbers on the case. After putting all this together I switched the system on for the first time. All went well and the BIOS came up. The system is not exactly quiet, but I find the noise far more bearable than the Thecus one, mainly because most of the noise is airflow, and not the droning of the fans. The noise level is constant, too, so far I have not heard the case fans increase speed. Next up: installing software Friday, February 6. 2009Building an OpenSolaris storage - Software, Part 1
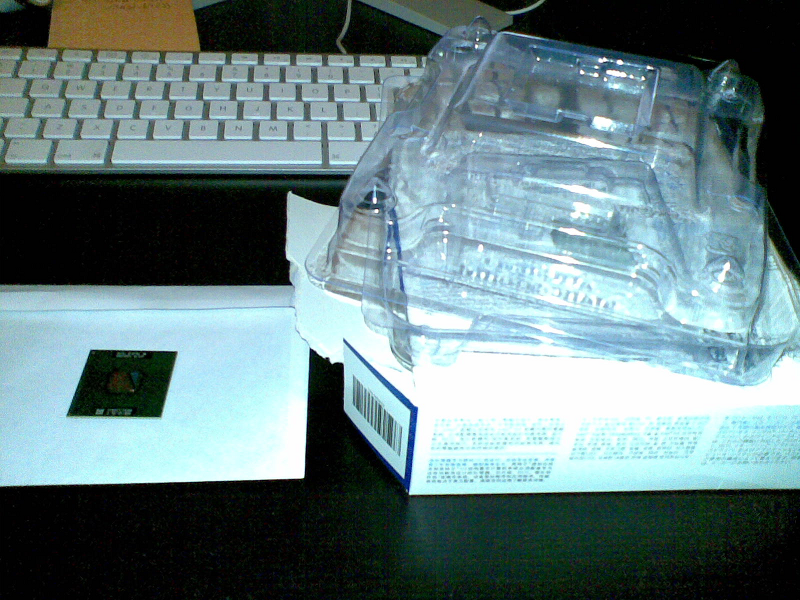
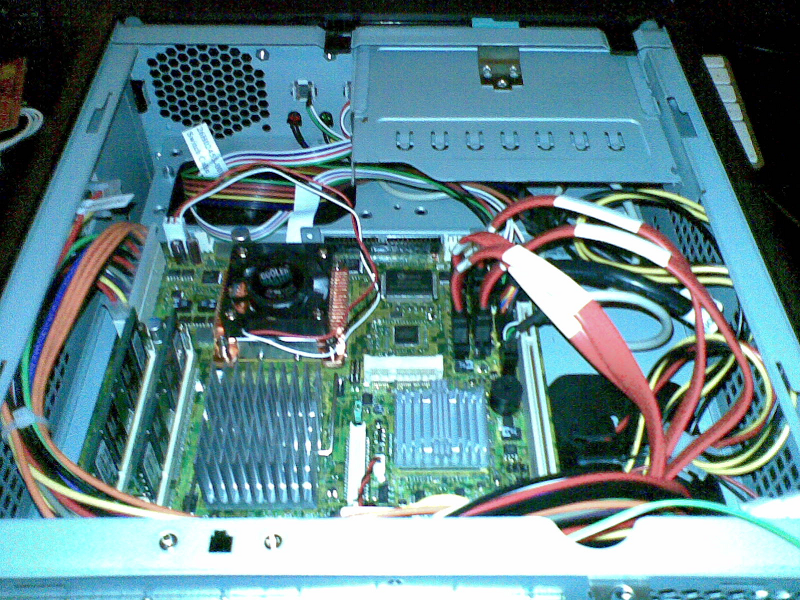
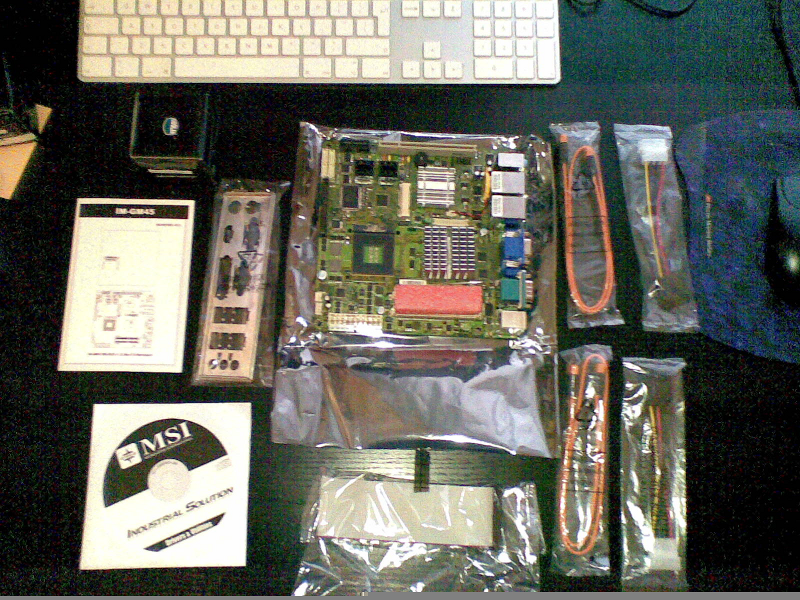
After the hardware was assembled I made a quick attempt to boot Nevara 105 from a DVD in order to see how things went (the installation proper will be made via the network). The system booted, but was very slow. It took over 10 minutes to get to the first prompt (which asks about the kind of installation you want to perform, and which is usually reached in a few seconds). Older releases and OpenSolaris 08/11 behaved the same. A Linux system booted from an USB stick behaved normally, though. I wrestled with this for two days, but then noticed something while running memtest86+ on the system. Since the system has 4GB of RAM, and quite a lot of the physical address space between 3 and 4 GB is used by PCI devices, quite a lot of physical memory is remapped to physical addresses above the 4GB mark. memtest shows the start and end address of the block it is currently testing (this is why start and end addresses above 4GB can show up there, even if the system has less than 4GB of RAM). While testing the relocated memory block memtest slowed to a crawl, while the memory below 4GB was tested at normal speed. It looks like memory accesses above 4GB are not covered by the processor cache. Linux seems to put it's kernel below this magic mark, and thus runs normally, while Solaris lands above it, and is less than usable. h3. Memory layout In order to explain what is going on here (and why it is bad) a small detour is in order. Physical address space is a shared resource on most architectures, the Intel x86 platform (in 32 and 64 bit) included. It is shared between real, physical memory and IO memory. Physical memory is the kind that comes (usually and these days) in DIMM memory sticks that go into the appropriate slots on the main board. IO memory, on the other hand, is a way of talking to extension cards, for example network adapters and graphics cards. These adapters register one or more areas of memory with the BIOS during system startup. Accessing these adresses results in reading or writing to these extension cards instead of real memory. The use of this is that programs can treat extension cards just like normal memory. The end result of this is that a given physical memory address can have one of three "backgrounds": * A physical memory cell * A device * Nothing The memory ranges that devices register usually live between the 3GB and 4GB physical address space. This was all well and good as long as practically no system had that much real memory, so there was no contention for address space. However, two things happened in the last years: memory got incredibly cheap, and devices got more hungry for memory space. Modern graphics cards, for example, map a large chunk of their on board graphics RAM into the memory space, sometimes all of it, easily taking up half a gigabyte or more of address space. There are two ways to handle address conflicts in this situation. The easy way is to simply ignore the physical memory in the address ranges claimed by devices. The physical memory cell becomes inaccessible, and the storage it provides is lost. This is obviously not a popular solution. The other way is to relocate the physical memory from the contended address spaces into non-contended space. This usually means "above the 4GB border". So although you may only have 4GB of physical RAM in the system some of it must be accessed at addresses above 4GB. The exact layout of the memory is passed from the BIOS to the system in the so-called E820 memory maps. On the MSI IM-GM45 board with 4GB of memory installed it looks like this: BIOS-e820: 0000000000000000 - 0000000000099000 (usable) BIOS-e820: 0000000000099000 - 00000000000a0000 (reserved) BIOS-e820: 00000000000e0000 - 0000000000100000 (reserved) BIOS-e820: 0000000000100000 - 00000000bdc80000 (usable) BIOS-e820: 00000000bdc80000 - 00000000bdc8e000 (ACPI data) BIOS-e820: 00000000bdc8e000 - 00000000bdcd0000 (ACPI NVS) BIOS-e820: 00000000bdcd0000 - 00000000bdce0000 (reserved) BIOS-e820: 00000000bdcec000 - 00000000bde00000 (reserved) BIOS-e820: 00000000fee00000 - 00000000fee01000 (reserved) BIOS-e820: 00000000ffb00000 - 0000000100000000 (reserved) BIOS-e820: 0000000100000000 - 000000013c000000 (usable) The lines marked with The last line shows the physical memory that has been relocated above the 4GB memory barrier. Almost one gigabyte of physical memory has been relocated. h3. Processor caches These days there are multiple layers of caches between the CPU core and the main memory. Data read from memory is held in the caches, for it might be needed again soon, and data written to memory is held for the same reasons. Data written to memory addresses beloning to devices, however, may or may not be eligible to caching. While memory is expected to keep it's content stable (unless explicitly written to) devices may change the content of their memory maps as they see fit, and caching the values read or written would screw with the CPUs world view. CPUs therefore contain a list of memory ranges and the cache policies associated with those ranges. These lists are called memory type range registers (MTRR) on Intel CPUs. Below is the list from a different system, also with 4GB of physical memory: reg00: base=0x100000000 (4096MB), size= 512MB: write-back, count=1 reg01: base=0x120000000 (4608MB), size= 256MB: write-back, count=1 reg02: base=0x00000000 ( 0MB), size=2048MB: write-back, count=1 reg03: base=0x80000000 (2048MB), size=1024MB: write-back, count=1 reg04: base=0xc0000000 (3072MB), size= 256MB: write-back, count=1 reg05: base=0xcff00000 (3327MB), size= 1MB: uncachable, count=1 Three quarters of the memory range between 3 and 4GB do not appear on this list, and are thus considered uncacheable by the CPU. The memory above 4GB, however, is marked as cacheable ( Now the same list on the MSI system: reg00: base=0x00000000 ( 0MB), size=4096MB: write-back, count=1 This is wrong in several ways, but the most important one is that the physical memory above 4GB is no longer cached by the CPU. The result of that is access to that memory becomes painfully slow. This also explains why the problem goes away when only 2GB of memory are present: no physisical memory is relocated beyond the 4GB barrier, because not enough address contentions exist, so all physical memory is being cached again. I have filed a support request with MSI and hope someone there understands the problem. h3. [Update 1] After a short discussion about supported operating systems, MSI has sent me a newer BIOS file. I'll try that this evening. h3. [Update 2] The new BIOS does indeed fix this issue. The new MTRRs look like this: reg00: base=0x13c000000 (5056MB), size= 64MB: uncachable, count=1 reg01: base=0x00000000 ( 0MB), size=4096MB: write-back, count=1 reg02: base=0x100000000 (4096MB), size=1024MB: write-back, count=1 reg03: base=0xc0000000 (3072MB), size=1024MB: uncachable, count=1 reg04: base=0xbdd00000 (3037MB), size= 1MB: uncachable, count=1 reg05: base=0xbde00000 (3038MB), size= 2MB: uncachable, count=1 reg06: base=0xbe000000 (3040MB), size= 32MB: uncachable, count=1 There are still some weird edges about this, but by and large it does what it should: all memory (minus that for the onborad graphics) is cached now. My thanks to the MSI support for the fast (and working) response. Saturday, January 24. 2009Building an OpenSolaris storage - Hardware, Part 1Today the first half of my order arrived: the case, the mainboard and the fan. As this delivery was somewhat unexpected (the mainboard is a new model, and I had expected it a week later), I now have new hardware I can not use, due to the lack of a CPU. This is a bit embarassing, but cannot be changed right now, so I'll start with what I have. My apologies for the appaling quality of the pictures, but all I have in the way of digital image capture is the camera in my cell phone. The CaseThe first thing I noticed about the case is how solid it looks and feels. Contrary to the photos I had seen so far the case is not all black, but the sides and the top and bottom are a dark siverish grey. The front, however, is black. I have to say it looks quite good. Although the front and sides are plastic, there is absolutely nothing cheap about the feeling. This is underlined by the weight of the thing. Even though there is no power supply in it (that is external), and no parts have been mounted yet, the empty case weighs over seven kilograms. Under the plasic outside panels there is a massive metal cage. It really has a no-nonsense feel to it. The inside is full of pre-routed cables that lead to the front panel, the power distribution plane and the hard disk backplane. The case has a 20+4-pin ATX power connector plus the four pin additional CPU power connector most current boards need. Luckily, all the MSI board requires is the 20-pin ATX connector.A pleasant surprise (aside from the colour) was that the case has a multi-format card reader already built in. From the manufacturers site I had gathered that this was an optional extra, but my case came with one included. Also included is a CPU fan, but that is quite specific for a certain mainboard, and will not fit most other boards, so it is useless to me. What is not included is a manual, at least I have not found any. As all of the cables are clearly labeled this is not much of a problem, though. The BoardThe mainboard comes with the usual assortment of cables (2xSATA, 2xSATA power adaptor, 44-pin IDE) and the rear panel bracket. In addition, it also contains a CPU fan, which surprised me. It also is a Coolermaster model, but not the same I ordered extra. If, as I suspect, the CPU also comes with a fan I'll have quite enough of those things. The board also had a pleasant surprise, this one on the bottom of the board. MSI put a CF card socket there, which the web site stated as an optional extra. I think I'll use a CF card instead of the notebook hard disk, as this produces less noise and heat.The FanWell... it's a fan, right? Goes on the CPU, and hopefully does not make too much noise. I can always threaten it with the other fan if it does. Building an OpenSolaris storage - HistoryThis is supposed to be a documentation of my endeavour to build an OpenSolaris based storage machine for my home use. Coming from a Linux background myself it will also serve as a notebook of how to do stuff under Solaris. HistoryFor years I had a midi tower based system running, which was both my internet router and the local storage machine. This machine was shut down eventually, energy prices being what they are, and was replaced by an ASUS router running OpenWRT for internet access. The storage facility was not replaced, so only the hard drives on the client machines themselves were left. In the middle of last year I finally had enough of that and started looking around for a small storage appliance. I wanted something I could play around with, so being able to screw with or replace the original operating system was a must. I ended up with the Thecus N2100, which is a small, ARM based NAS enclosure running Linux from embedded flash, and able to house two SATA hard disk drives. It's possible to get a fully functional Debian system on it if you're not afraid of poking around with serial ports (which I am not), so it seemed like a good choice. It was ordered together with two Seagate 7200.11 1TB drives. It turned out pretty fast that the Thecus and the Seagate drives did not like each other a whole lot, which is probably due to the rather high spinup current that the Seagate drives need (3A on the 12V rail). This was more than the Thecus could provide, so the drives did not spin up most of the time. So the two Seagate drives were replaced with two Samsung 1TB drives, and the Seagates were banished to the shelf. In hindsight this was probably a good thing, because a) the Seagates did not have time to fill up their log and run into the current firmare bug, and b) I had 4 1TB drives lying around, which would come in handy later. The Thecus liked the Samsung drives a whole lot better, and the original firmare was quickly replaced with a Debian Lenny distribution. From a purely administrative standpoint all this worked very well, the distribution detects all the hardware in the system (not that there is a whole lot of it, but nonetheless), including the multi-coloured LEDs in the front panel and the fan controller. Debian duly provided me with NFS and SAMBA based storage, a print server for the printer connected to the USB ports, and several other services. The main problem with the Thecus was speed. The system is equipped with a 600MHz ARM processor, which sounds quite beefy, especially compared to the other NAS storage enclosures out there, which usually have less. In reality it is not a whole lot. None of the individual subsystems are epecially fast on their own (the system has two 1GB network controllers, but trying to get 100MBit directly from memory is pushing things, and the storage controller has problems of it's own, also limiting the possible performance). The net result of all this was that getting more than 5MB/s read or write performance was pretty much out of the question. As this was unsatisfactory a new solution was needed. In the mean time I had played around with OpenSolaris (in the form of the bi-weekly nevada snapshots), and was quite impressed by it's ZFS file system. So I wanted to build the new system around this OS, in order to try it out in real life with more than just a few megabytes of test disks. This meant using an Intel based machine, though (getting a Sparc based enclosure seemed to push my luck), so I started looking around again. Thecus offered a five disk hot-swap enclosure (the 5200(PRO)) with a 600MHz or 1.6GHz Celeron processor, Marvell-SATA-Controller and Intel Gigabit Ethernet, booting from an internal flash disk. While talking this through with several people on IRC (thanks, ofu!) it became clear that I could get more performance for the same money when building the system myself. (Ironically, I have gotten my hands on a Thecus 5200 based system as well, so I get to have the best of both worlds. Life is great, sometimes). I did not want a midi or mini ATX tower though, so choice was getting slim. ofu again pointed me towards the Chenbro 340 case, which has four hot swap cabable SATA bays and takes a Mini-ITX board. Finding a fitting board turned out to be somewhat complicated, as Mini-ITX boards with (at least) 4 SATA ports are rare (in theory it is possible to put a PCI card into the case using a riser card, but I did not want to go that way). Even more, all the hardware (especially storage and network) had to be supported by Solaris. I figured the safest way to go was getting an all-Intel board (Intel SATA controller, Intel network), as these parts are known to work well. In the end I chose the MSI IM-GM45, which has four on-board SATA ports connected to an Intel ICH9M-E controller, two Intel gigabit ethernet ports and takes an Intel Penryn processor (among others). It also has an IDE connector, which will drive the boot disk (the four SATA drives will run in a RAIDZ configuration, from which Solaris can not yet boot). The board takes up to 4GB of DDR2 RAM, which is plenty. It also has wide selection of video outputs (which I do not need at all), and five serial ports, one of which is on the rear panel (which I do need). The final list of parts for this project is as follows: * Chenbro 340 case * MSI IM-GM45 mainboard * CoolerMaster EPN-41CSS-01-GP cooler+fan * Intel T8100 CPU * 4GB RAM The hard disks are already there (the two Seagates on the shelf, and the two Samsungs in the old enclosure). These will be resused. I also have several old notebook drives lying around, one of which will be used as the boot disk.
« previous page
(Page 2 of 2, totaling 19 entries)
|